 |
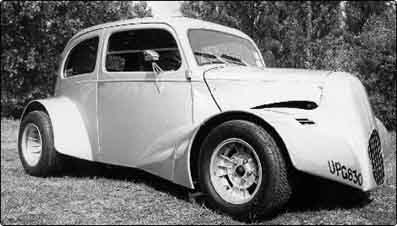
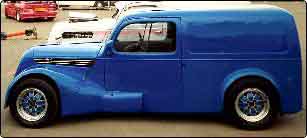
Bonded ScreensBy Geoff Kremer When I built The Beast (Berpop) and needed to reglaze it I was stunned by the price quoted for a screen rubber so I thought (a rare occurrence!) there must be a better way. After a few enquiries Sikoflex was mentioned. The key word here is SIKOFLEX. If you are about to fit a new windscreen to your pride and joy or generally reglaze it you might find the following tips useful. This stuff is absolutely wonderful, you can glue glass, steel, (Ive seen car wings glued on with it) plastic and rubber and I promise, so long as you make sure everything is absolutely clean it will stay stuck. Bonded Glass.Both of the rods I built had bonded glass and its much easier to do than you think.
First of all the Pros and Cons.Pros: Once fitted you will not be troubled with leaks and splintering. Cons: Once the glass is fitted, its bu**ger to remove; like, you cant without
breaking it! Heres How.Make sure the body surface is absolutely clean, The area the glass is to be bonded too must have no rust or loose paint. Clean the glass with thinners and off you go!SIKOFLEX should be available from most car factors such as Brown Brothers and is available in black or white. It should be treated as you would with a silicon sealant. The best way I found of dealing with this is to have loads of white spirit because it deals with the Sikoflex but doesn't attack the paint work. Now for the nitty gritty. You need to make a template for the glass needed, use either a bit of Perspex or hardboard and shape it to fit the screen aperture as shown in diag 1. This is the template you will use to get the glass cut so you must get it right. Make sure you ask your glass supplier to cut and finish the glass the way you want it and make sure he puts a bevel on the outer edge. To make things easier when fitting, make two small supports as shown. Mask up around the screen, wiping a little Vaseline on the masking tape will help. Put a bead of Sikoflex around the screen aperture, lay the glass onto the supports and press into place, you will need to push quite hard to get all the bubbles out but do it a little at a time working around the edges of the glass do not distort the glass to much or it will crack you should end up with a bead of Sikoflex that has oozed out around the screen inside and out. You have a couple hours to line everything up before the sealant starts to go off. While the sealant is still wet remove the surplus with a bit of wood then get some lint free rag and using the white spirit dress the rest of the sealant so that you have the minimum amount around the edges of the glass. Remove the masking tape, dont worry about smearing. Leave for 24 hours to set then finally polish the glass and paint work. This stuff is also great for sealing panels, lights, floors etc.
|
| Back to Top |
| All images and content Copyright © UK Hot Rods. Design by Alley Kat Internet. Content by Holmsey and UK Hot Rods members. |